Wintertime can slow work in the garden to a halt. Cool and rainy weather is not conducive to being outside and typically slows the growth of everything except the fescue or rye you have planted in your lawn. It is a good idea to have backup activities to help you through the tough times when the weather won't let you work in the garden.
How about letting your “creative license” take charge and express your inner gardening passions? What is your favorite insect? You know, the one you brag about to other master gardeners that you have in your yard? Whatever it may be, let's walk through a way to showcase it artistically in your garden.
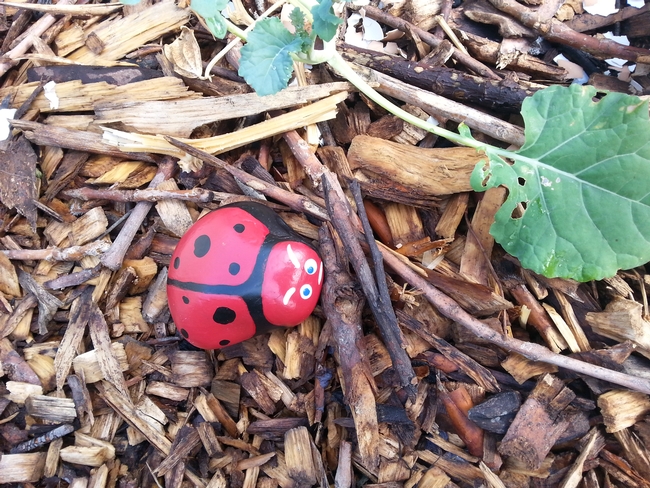
Lady beetles are a favorite of many. These are simple creatures which can be easily painted onto a round-flat rock. Find a rock of appropriate size (3-5 inches wide and 1-1 ½ inches tall). Using leftover latex paint you may have accumulated from house painting or other projects, cover the whole of the rock in one dark color (this is where your creative license comes in handy – it doesn't matter which color you choose, all are correct) and let dry. Now find a light, bright color (anything you have from yellow to red – even chartreuse) and paint onto the dark rock the shell of the lady beetle. Be sure to leave unpainted several dark round spots of various sizes on each “wing” shell to be the distinctive spots of the lady beetle. For the head/face, use a small art brush and add mouth, eyes, and antennae as you deem appropriate. Be sure to add a smile or maybe a little wry swag to the mouth – giving it some of your personality. Let dry completely. Before displaying in the yard, consider covering with a clear coat to protect the colors and lengthen the life of your artwork!
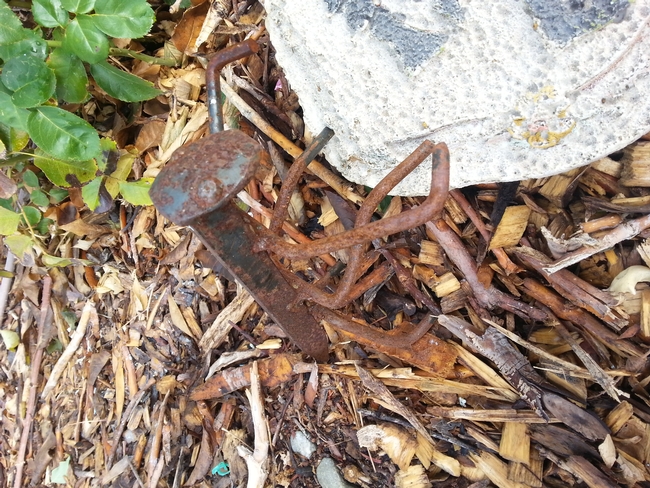
The Praying Mantis is one of my personal favorites to find living in our garden. The look on its face seems to mimic human nature and facilitates personification of this insect. I like them so much I have a simple method for an artistic replica which is just slightly larger than life. It requires only a couple pieces of metal (1 railroad spike and 1 18” long piece of 1/8” steel rod) and a two-part epoxy compound (JB Weld is what I use). Cut the steel rod into 3 lengths - 7”, 5”, & 6” - these become the arms and legs. The top of the spike is the face/head and may be left plain or may be as intricate as you want to give an expression to the “critter”. Lay the spike on its back and determine the spot to attach the legs (5” & 6” pieces). Mix enough of the epoxy to surround each leg piece completely, including a little between the leg and body. Place these two legs on the body and allow to dry. Do not bend the legs yet – the epoxy needs to cure to make sure it won't crack away from the body. Mix another batch of epoxy for the arms and attach them about 1” above the legs toward the head. Use the same process. Once the epoxy is cured you can bend the rod to simulate the typical stance of the mantis, placing the arms in the position for which it is named.
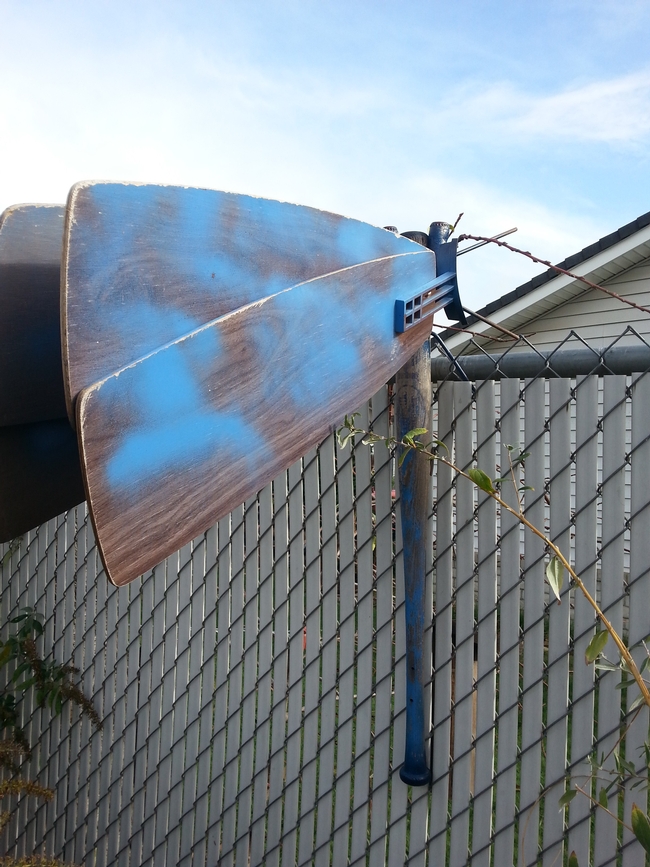
Do you have an old wooden baseball bat hanging around the garage? Or a broken shovel handle that you were saving for a rainy day? Incorporate these items into “flies” – Damsel, Dragon, or Butter! Old fan blades make for good wings on the first two and broken leaf rakes work well for the latter, providing an area to artistically design a color scheme of your own. I will let you figure these out, just remember to use your creative license!
Express yourself while you have time during the slow period of your gardening passion!


