HYPERTUFA!

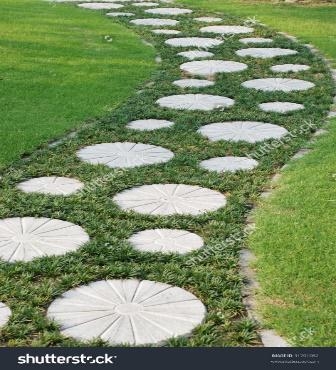
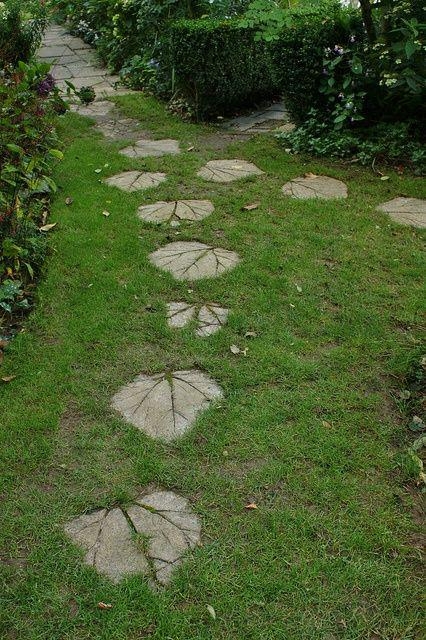
Using a cement mix or its cousin, Hypertufa, create garden spheres, decorative toadstools, steppingstones, pots and vases, and so much more. The only limit is your imagination. There are many websites to boost your creativity and help with the selection of a project. Whether it is your first project with this medium, or you are a seasoned garden crafter and looking for a challenge, one of the sites at the end of the article will surely have something of interest.
The process of making either medium is easy and pretty much the same for both the cement mix and the Hypertufa. Slightly different ingredients make the latter a lighter medium to work with. Color can be added to the mix ahead of time for a pop in your garden or, for more texture, add some gravel. Lining the mold with items before pouring in the mix will create an interesting exterior surface. Try putting green moss against the mold surface, then press the cement mixture against it...gorgeous!
To begin the project, get all the materials set up within easy reach before mixing the concrete or hypertufa. Items you are likely to need include plastic or rubber gloves, a container (such as a wheelbarrow, or a five gallon paint bucket, or something similar) for mixing (if using the cement mix, put the container in or on something with wheels to make it easier to move around), mold for shaping item, vegetable oil or pan spray (to ease release of the item from the mold), a cement trowel, ingredients for the mix, water, plastic sheeting or garbage bags to cover the completed item while it dries), texture or coloring items for the project, a spatula or scrapper (for smoothing), clean up materials, and the directions for the project. It will be easier to work in the shade since the item will need to dry in the shade.
Estimate the amount of mix needed for the project. Start with a reasonable amount so that there is ample mix to complete the project. Mix small amounts at a time, alternating with water. Mix well until the mix is the consistency of cottage cheese. Keep adding more if needed. You'll have about 20-30 minutes before the mix starts to firm up.
- Choose your mix.
Cement Mix: Cement, sand; water.
Hypertufa: 1 part peat: 2 parts Cement: 1 part perlite; water.
- Spray cooking oil (PAM or other) or brush vegetable oil on the mold.
- Wearing gloves and using a trowel, put a small portion of the dry ingredients in the mixing container. Add some water. Mix well to the consistency of cottage cheese. Continue alternating wet and dry ingredients and mixing until you have the estimated amount of wet mix you will need.
- Scoop or pour the mix into the prepared mold, a small portion at a time. Add more as you work to fill the mold. You can also build the mix up the sides of mold first if items are around the edges for texture. Use a spatula or a scrapper to smooth the surfaces as necessary. Make any drain or other holes necessary.
- Put plastic sheeting over the project and move it to a shady area to dry. Allow 5-7 days for the item to partially dry. Pop the item out of the mold. Allow 2-3 weeks to finish drying. Once dry, the item can be painted or otherwise decorated. The cement will continue to strengthen for about a year.
Resources:
Any of the following sites provide information on making your own concrete or hypertufa stepping stones for your garden as well as making the molds for the stones.
Youtube.com
Pinterest.com
https://www.pinterest.com/pin/531354456009673290
https://www.pinterest.com/pin/48061921001842365
https://www.pinterest.com/pin/268034615300932404
Sunset.com
Google.com
